How to Change Proxy Server
Most guides on changing a proxy server read like they were written for a first-time computer user. They cover the obvious steps and stop right before the part that actually matters – what happens when the IP changes but your traffic doesn’t, or when DNS continues resolving through the old resolver while your application believes it’s already tunneled through a new exit node.
This guide is different. It covers the full mechanics of proxy configuration across operating systems and environments, explains why certain changes don’t take effect immediately, and documents the failure modes that cause data leaks and silent bypasses. Whether you’re switching proxies for data collection, multi-account management, or performance testing, the details here will save you from hours of debugging.
Why Simply Changing the IP Is Not Enough
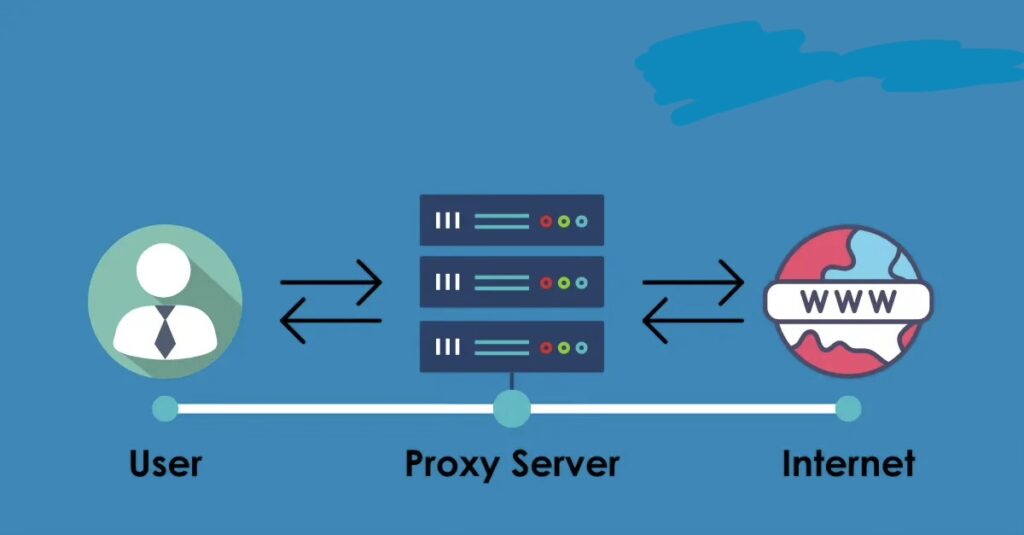
The misconception most users carry into proxy configuration is that updating a server address in the settings panel constitutes a full proxy switch. It doesn’t. A proxy server change involves at least three independent layers: the transport layer (where the IP and port live), the DNS resolution layer (which may or may not route through the proxy), and the application layer (which may cache the previous connection or ignore system settings entirely).
DNS leaks are the most common problem. When you configure a proxy at the OS level on Windows or macOS, the system routes TCP connections through the proxy but continues sending DNS queries through the local ISP resolver by default. The result is a proxy that hides your IP from the destination server while your DNS traffic reveals your real location to the resolver. Any geo-detection tool that cross-references IP with DNS will flag the inconsistency immediately.
WebRTC leaks are the second critical failure mode. Browsers implementing WebRTC bypass the proxy tunnel entirely to discover local and public IP addresses, which they then expose to any page that requests them via the JavaScript API. This is particularly damaging in multi-account environments where account isolation depends on full IP separation.
Proxy Configuration Methods: A Practical Comparison
Before walking through the steps for each environment, it helps to understand what each method actually controls and where its scope ends.
| Method | OS | Scope | Best For |
| System Settings (Network Proxy) | Windows / macOS / Linux | System-wide | General traffic routing, enterprise setups |
| Browser Settings | All | Browser only | Quick testing, per-browser isolation |
| Browser Extension (e.g. Proxy Control) | All | Browser only | One-click switching, multi-IP management |
| PAC File (Proxy Auto-Config) | All | Rule-based | Selective routing, conditional bypass |
| Environment Variables (CLI) | Linux / macOS | Terminal sessions | Developer tools, scripting, automation |
The table above maps each configuration method to its operational boundary. System-level settings in Windows and macOS affect most applications but not those that implement their own network stack, such as certain VPN clients, torrent applications, and development tools that use custom HTTP libraries. Always verify coverage by checking the actual outbound IP at the application level, not just the system level.
How to Change Proxy Server on Windows 10 and 11
Via System Settings
Open Settings and navigate to Network & Internet, then Proxy. Under Manual proxy setup, toggle the switch to On. Enter the server address and port in their respective fields. For authenticated proxies, Windows does not prompt for credentials within the settings panel itself – authentication is handled per-application when the connection is first established.
One detail that surprises most users: the Windows proxy settings apply to WinINET-based applications (Internet Explorer, Edge Legacy, most desktop apps that use the system HTTP stack) but not to applications using WinHTTP directly or those that bundle their own network stack. Chrome and Firefox both have independent proxy configuration – they can read system settings, but they can also override them.
Via Group Policy or Registry
Enterprise environments typically push proxy settings through Group Policy or directly to the registry key HKCU\Software\Microsoft\Windows\CurrentVersion\Internet Settings. Changes made via GPO take precedence over manual settings and will silently override anything the user configures through the UI. If you’re troubleshooting a configuration that keeps reverting, check Group Policy first.
Changing Proxy Settings on macOS
On macOS, proxy settings are per-network-interface. Open System Settings, go to Network, select your active interface (Wi-Fi or Ethernet), click Details, and navigate to the Proxies tab. You can configure HTTP, HTTPS, SOCKS, and automatic PAC-based routing independently.
The macOS proxy settings feed into the CFNetwork stack used by Safari and native apps. Applications that use URLSession in Swift or NSURLSession in Objective-C will respect these settings. However, Chromium-based browsers on macOS use their own proxy resolution layer by default, which reads system settings but can be overridden programmatically or via extension.
Terminal sessions on macOS do not inherit system proxy settings automatically. To route curl, wget, or other CLI tools through a proxy, you need to set the http_proxy and https_proxy environment variables explicitly in your shell profile.
How to Set Up a Proxy Server on Linux
Linux does not have a unified proxy configuration layer. Each application either reads the standard environment variables or maintains its own configuration. The variables http_proxy, https_proxy, and no_proxy are the de facto standard, but they must be set in the correct scope to take effect.
For system-wide coverage, add the variables to /etc/environment or /etc/profile.d/ and re-source the shell. For user-specific coverage, add them to ~/.bashrc or ~/.bash_profile. The no_proxy variable accepts a comma-separated list of hostnames and IP ranges that should bypass the proxy – critical for internal services that must not be routed through an external exit node.
Desktop environments like GNOME and KDE have their own proxy settings panels, which feed into their respective application stacks. GNOME’s proxy settings are stored in dconf and apply to GTK applications and the GNOME browser. These do not affect terminal sessions or X11 applications that bypass the desktop environment’s network stack.
Browser-Level Proxy Configuration and Extension Management
Configuring a proxy at the browser level offers more granular control than OS-level settings. Both Chrome and Firefox allow per-profile proxy configurations, which is essential for multi-account workflows where each browser profile must appear to originate from a distinct IP.
Chrome’s native proxy settings simply defer to the OS by default. To set an independent proxy per-profile, you either need a browser extension or must launch Chrome with the –proxy-server flag from the command line. The flag approach is common in automation workflows using Selenium or Playwright, where each browser instance is launched with explicit proxy parameters.
Firefox offers native per-profile proxy configuration without requiring an extension. Under Preferences, navigate to General and scroll to the Network Settings section. You can set manual HTTP/HTTPS/SOCKS proxy parameters or point to a PAC URL. Firefox also has an important option to proxy DNS over SOCKS, which is disabled by default but critical for preventing DNS leaks when using SOCKS5 proxies.
For browser extension-based proxy switching – which is especially useful when managing multiple IP addresses across different tasks – a dedicated walkthrough of the proxy setup in browser extension covers the full configuration flow including API key integration and whitelist management.
PAC Files and Conditional Routing
A Proxy Auto-Config (PAC) file is a JavaScript function that the browser or OS evaluates for every connection request. Based on the hostname, IP range, or protocol, the function returns either a proxy specification or the string DIRECT, meaning no proxy. PAC files allow selective proxying – for example, routing only traffic to specific target domains through a proxy while keeping everything else direct.
PAC files are hosted at a URL and fetched when a connection is first established (or periodically refreshed, depending on the platform). This creates an important caching behavior: changes to a PAC file do not take effect immediately. Most browsers cache the PAC file for the duration of the browser session and sometimes beyond. To force a refresh, you typically need to clear the browser cache and restart, or use a cache-busting URL parameter on the PAC file endpoint.
Diagnosing Proxy Switch Failures: Root Causes and Fixes
The table below maps the most common failure states encountered after a proxy change to their actual root causes and corrective steps.
| Symptom | Likely Cause | Recommended Action |
| Connection timeout after proxy switch | Port mismatch or firewall block | Verify port, check firewall rules for outbound access |
| IP unchanged in geo-check | DNS still resolving via local resolver | Enable DNS-over-proxy; check WebRTC leak settings |
| Authentication loop | Wrong credential format (user:pass@host) | Re-enter credentials; confirm proxy supports auth method |
| Partial traffic bypass | PAC file conflict or browser extension override | Audit active extensions; flush PAC cache |
| High latency post-switch | Geographic proxy mismatch or oversold node | Select closer region; benchmark with ping/traceroute |
The most reliable verification method after any proxy switch is to check the outbound IP from within the application itself – not from a separate browser tab. A standalone IP check in the browser while the application routes through different logic will produce false confidence. Use application-level logging or a dedicated network inspection tool to confirm the actual exit IP being used per connection.
Advanced Configuration: Environment Variables, CLI Tools, and Automation
For engineering workflows that involve CLI tools, build systems, or custom scripts, proxy configuration through environment variables is the most reliable approach. The standard variables are http_proxy and https_proxy for plain HTTP and HTTPS traffic, and socks_proxy for SOCKS-based tunneling. Tools like curl, git, pip, apt, and most modern package managers respect these variables without additional configuration.
The no_proxy variable is particularly important in hybrid environments where some traffic must go through the proxy and other traffic must remain direct. It accepts wildcards for domain suffixes, specific IPs, and CIDR notation in some implementations, though support for CIDR varies between tools. Always test no_proxy coverage explicitly rather than assuming it works consistently across all applications.
In containerized environments using Docker or Kubernetes, proxy settings must be configured both at the container runtime level and within any build steps that make outbound network calls. The Docker daemon has its own proxy configuration in /etc/docker/daemon.json, separate from the container-level environment variables. Forgetting one of these layers is a common source of inconsistent behavior in CI/CD pipelines that involve proxy-dependent tasks.
When Configuration Isn’t the Problem – It’s the Infrastructure
After ruling out configuration errors, DNS leaks, and application-level bypasses, persistent connection failures, high latency, and IP reputation issues typically point to problems with the proxy infrastructure itself rather than the client-side setup. Shared IP pools, overloaded datacenter nodes, and proxies with poor ASN reputation are common culprits that no amount of client-side configuration can fix.
Infrastructure quality – clean IP reputation, subnet diversity, stable uptime, and protocol flexibility – is where proxy providers differentiate themselves. Proxys.io offers individually allocated IPv4 proxies across datacenter, mobile, and residential IP types, with support for HTTP, HTTPS, and SOCKS5 protocols and coverage across 30+ countries – which means the infrastructure variables that cause silent proxy failures are controlled at the source, not patched around on the client side.
Post-Switch Verification Protocol
A proxy change is only complete once it has been verified at every layer it is supposed to affect. The steps below represent a minimum verification protocol.
- Confirm outbound IP via an application-level request, not just a browser tab
- Test DNS resolution to confirm queries are routing through the proxy resolver, not the local ISP
- Check WebRTC in the browser if the session involves any browser-based activity
- Run a latency benchmark to confirm the new proxy is performing within acceptable thresholds
- Verify no_proxy rules are excluding the correct internal domains and IP ranges
Skipping any of these steps leaves open the possibility that a session that appears to be running through the new proxy is actually exposing identifying information through a bypassed layer. In operational contexts – multi-account management, competitive intelligence collection, or privacy-sensitive workflows – those leaks are functionally equivalent to not using a proxy at all.
Conclusion
Changing a proxy server is not a single action – it is a configuration chain that spans the OS network stack, DNS resolution, the application’s own network handling, and the proxy infrastructure itself. Each layer can silently undermine the others. The professionals who get this right are not those who follow the most basic setup steps; they are those who understand where the bypasses happen and verify against each of them.
Treat every proxy switch as a multi-layer operation. Configure at the right scope, verify at the application level, and audit for DNS and WebRTC leaks before considering the switch complete. When the infrastructure itself is the variable, quality of the IP pool and provider reliability matter as much as the configuration on your end.
Click here for more articles.